Thinking about “ev charging installation near me” means you want a practical solution for charging at home or at your building. You can find local installers who assess your electrical setup, recommend the right charger level, and handle permits and installation so your EV charges safely and efficiently.
You’ll learn how to match charger type to your driving habits, what electrical upgrades might be needed, and how local services handle site visits, permits, and final hookup.
This article EV Charging Installation Near Me walks through how to assess your needs, what installers typically check during a local installation, and the key decisions that affect cost, speed, and safety so you can choose the best option for your situation.
Assessing Your EV Charging Needs
Start by defining who will use the charger, where vehicles will park, and how fast you need to replenish range. Those decisions determine charger type, electrical upgrades, and installation cost.
Residential Versus Commercial Requirements
At home, you usually prioritize convenience and cost. Most homeowners install a Level 2 charger (240V) to add 20–40 miles of range per hour, enough for overnight charging. Check your garage or driveway location, typical daily miles driven, and whether multiple vehicles need simultaneous charging. Consider shared parking: if you live in an apartment or condo, you’ll face permitting, HOA rules, and potential networked billing requirements.
Commercial sites focus on throughput, uptime, and customer experience. Businesses often choose a mix of Level 2 and DC fast chargers depending on dwell time—retail and workplace sites favor Level 2, while highway stops and fleet depots may require DC fast charging for rapid turnarounds. Budget for signage, lighting, ADA compliance, and payment/networking systems.
Choosing the Right Charger Level
Level 1 (120V) uses a standard outlet and delivers about 3–5 miles of range per hour. It suits low-mileage drivers or emergency backup but is too slow for daily use if you drive over 30–40 miles per day. Level 2 (240V) is the common residential/commercial choice: faster charging, reasonable cost, and broad EV compatibility.
DC fast charging (480V or higher) provides 60–350+ kW and adds hundreds of miles per hour for compatible vehicles. It requires substantial electrical infrastructure and is significantly more expensive to install. Match charger power to typical vehicle acceptance rate; installing a 150 kW charger for vehicles that cap at 50 kW wastes budget. Balance desired charge speed with installation complexity and energy costs.
Site Evaluation and Power Availability
Perform a site walk-through to note panel capacity, meter location, and distance from electrical room to parking stalls. Document existing service size (amps), subpanels, and any spare capacity. Short runs reduce conduit and wiring cost; long runs or trenching add significant expense.
If your service lacks capacity, plan for upgrades: larger service, new transformer, or managed charging systems that limit simultaneous draw. Confirm local permitting, utility interconnection rules, and potential incentives that offset upgrade costs. Use an electrician’s load calculation and a site one-line diagram to avoid surprises during permitting and installation.
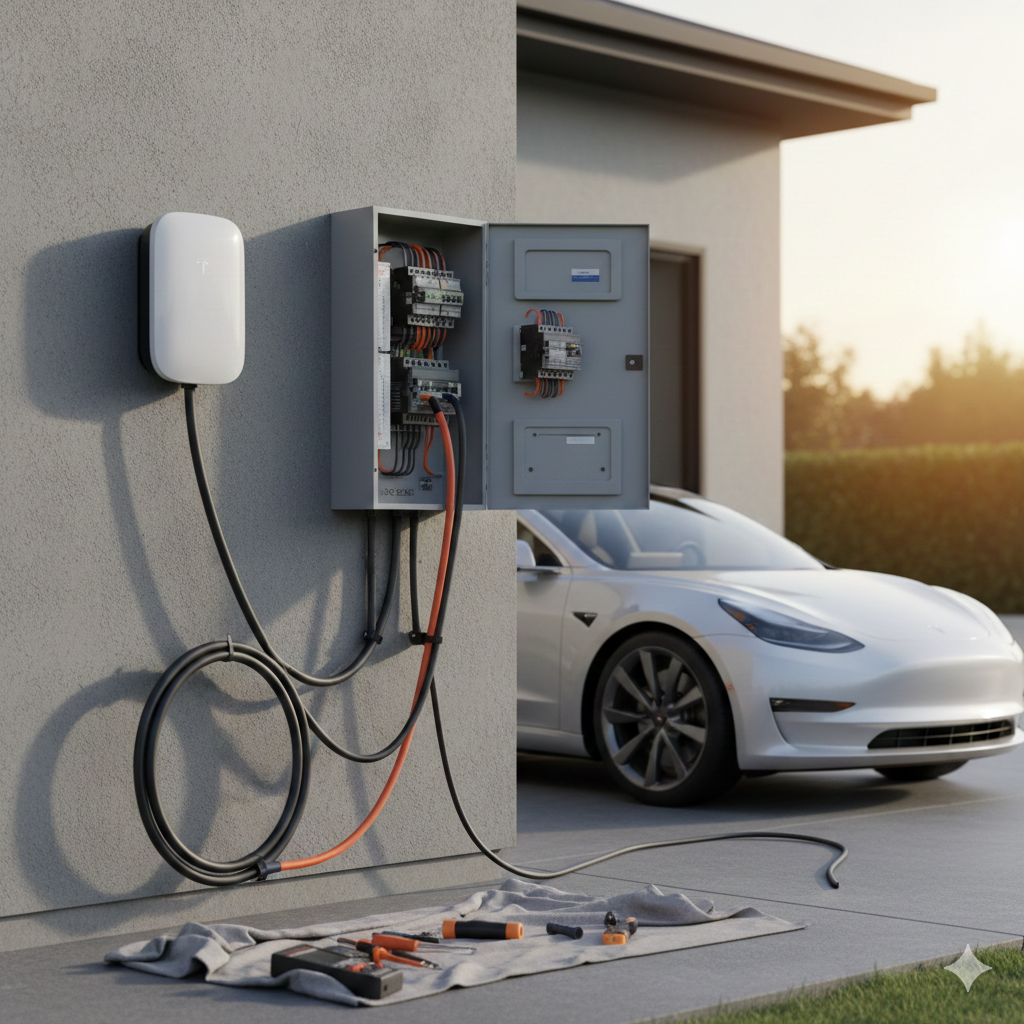
Local Installation Process and Considerations
Expect permit review, electrical service assessment, and a licensed electrician’s on-site work. You’ll need to plan for panel capacity, trenching or conduit routing, and final inspection scheduling.
Permitting and Compliance Steps
Start by contacting your local building department or permitting portal to determine required permits and fees. Most jurisdictions require an electrical permit and a separate building or site permit when you install a hardwired Level 2 charger; some also require contractor license verification.
Prepare the documentation the authority will ask for: site plan showing charger and meter location, electrical load calculations, and equipment specification sheets for the EVSE and circuit breaker. If you live in a condominium or HOA, include written approval or architectural forms to avoid delays.
Follow local amendments to the National Electrical Code (NEC), such as panel capacity rules, conduit fill, and equipment grounding. Your installer should submit the permit application and schedule all required inspections; confirm whether the inspector needs to see the physical charger brand/model or only circuit details.
Typical Installation Timeline
A straightforward residential Level 2 install usually takes 1–3 business days from initial site visit to final inspection. The initial site assessment and quote typically occur within 1–7 days of your call, depending on installer availability.
Physical work—panel upgrades if needed, running conduit, mounting the charger, and wiring—often fits into a single 4–8 hour day for simple installs. If you need a service panel upgrade, trenching, or utility coordination, expect 1–3 additional days plus permitting lead time of 1–4 weeks. Coordinate scheduling for any electrical utility service changes; those can add several weeks if a transformer or meter swap is required.
Safety Standards and Inspections
Your installer must follow NEC requirements for EV supply equipment, including dedicated circuit sizing, proper breaker type, and correct grounding and bonding. Use equipment listed by a recognized testing lab (UL, ETL) and labeled for outdoor use if installed outside.
Inspectors will verify wire gauge, breaker rating, conduit installation, GFCI or equipment protection where required, and the charger’s mounting and weatherproofing. Keep records of permits, inspection reports, and equipment manuals; you’ll need them for warranty claims and future property transactions.