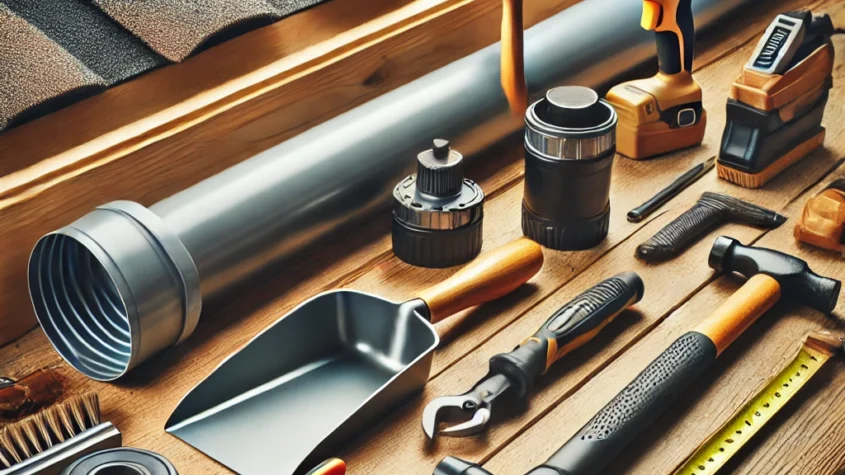
Selecting the right Rain Gutter Installation Tools is essential for achieving a durable and effective system. Having the appropriate tools not only ensures a smooth installation process but also contributes to the longevity of the gutters. A combination of basic hand tools and specialized Rain Gutter Installation Tools will streamline the project and deliver professional results.
Understanding the key tools needed for the job can save time and reduce the likelihood of errors. Essential items include a level, a measuring tape, a ladder, and safety gear. For more advanced setups, purchasing a gutter machine or a power saw can enhance efficiency.
Equipping oneself with the right tools is the first step toward a successful rain gutter installation. Familiarity with each tool’s purpose and function enables a contractor or DIY enthusiast to tackle the task with confidence. This article will explore the necessary tools in detail and provide insights into their proper usage.
Essential Tools for Rain Gutter Installation
Installing rain gutters requires a specific set of tools to ensure efficiency and quality. Each tool plays a crucial role in the installation process, contributing to the overall success of the project.
Ladders and Safety Equipment
Ladders are essential for accessing the roof and eaves where gutters are installed. A sturdy extension ladder is recommended, allowing the installer to reach higher areas safely. It should be placed on stable ground to prevent accidents.
In addition to ladders, safety gear such as hard hats, gloves, and non-slip footwear is important. Harnesses may also be beneficial for those working at significant heights. Safety should always be a priority during installation to mitigate the risk of falls or injuries.
Measuring and Alignment Tools
Precise measurements are vital for proper gutter installation. A tape measure will ensure accurate lengths for the gutters and downspouts.
A chalk line helps create straight installation lines, making it easier to align the gutters. Level tools are necessary to confirm that the gutters have a slight slope to facilitate water flow. Installing in a precise and aligned manner prevents future drainage issues.
Cutting and Shaping Implements
Cutting tools are essential for resizing gutters and shaping components to fit specific areas. A quality tin snips or a power saw is commonly used for cutting aluminum gutters.
For downspouts and connectors, a miter saw may be necessary to create clean angles. Bending tools can shape the gutters to fit around corners or curves seamlessly. Ensuring clean cuts and appropriate shapes will lead to a professional result.
Fastening and Sealing Devices
Securely fastening gutters to the structure is critical. Tools such as a cordless drill with the proper bits are used to install screws and brackets.
Rivets may also be used for added security in selected areas. Alongside fastening, sealing tools like caulk guns equipped with silicone or sealant are crucial. These sealants prevent leaks, ensuring longevity and effectiveness in diverting rainwater.
Executing Rain Gutter Installation
Proper execution of rain gutter installation involves meticulous preparation and assembly. Addressing the installation area, gutter sections, and downspouts will ensure a successful outcome.
Preparing the Installation Area
Before beginning installation, assess the roofline where the gutters will be attached. Ensure it is clean and free of debris. Remove any obstructions, such as old gutters or branches.
Tools Needed:
- Level
- Measuring tape
- Ladder
- Screwdriver
Identify the slope needed for proper drainage. Generally, a slope of 1/4 inch for every 10 feet is recommended. Mark the desired gutter locations with chalk lines to guide the installation process.
Gutter Section Assembly
Select the appropriate gutter material, such as aluminum, vinyl, or copper. Each material has unique properties influencing durability and aesthetics.
Cut the gutter sections to the required lengths using a hacksaw or tin snips.
Assembly Steps:
- Join the Sections: Use connectors specific to the chosen material to attach the sections securely.
- Seal the Joints: Apply silicone sealant on joints to prevent leaks.
- Install End Caps: Attach end caps to the gutter sections to close off the ends.
Use a level to ensure proper alignment of the sections before securing them in place with brackets.
Downspout Construction and Attachment
Downspouts direct water from gutters to the ground. Proper construction and attachment are vital to avoid water damage.
Begin by measuring the height needed for the downspouts. Cut the downspout to length with a hacksaw.
Key Steps:
- Assemble the Downspout: Use elbows, straps, and connectors to assemble the components.
- Attach to Gutter: Securely attach the top of the downspout to the gutter outlet with screws.
- Position the Base: Ensure the downspout directs water away from the foundation.
Install a splash block or extend the downspout to control water runoff. Ensure all connections are tight and properly sealed.
Sympathy Flowers: Meaningful Gestures for Comfort and Support
Sympathy flowers serve as a heartfelt gesture during times of loss and grief. They provide…


